Czym jest rzeźbienie reliefowe 3D?
Gdy większość osób myśli o frezarkach CNC, wyobraża sobie płaskie znaki lub proste profile 2D. Ale z odpowiednimi narzędziami i procesem pracy, Twoja frezarka CNC może stać się cyfrowym dłutem — zdolnym do rzeźbienia pięknych reliefów 3D z drewna, pianki, a nawet plastiku.
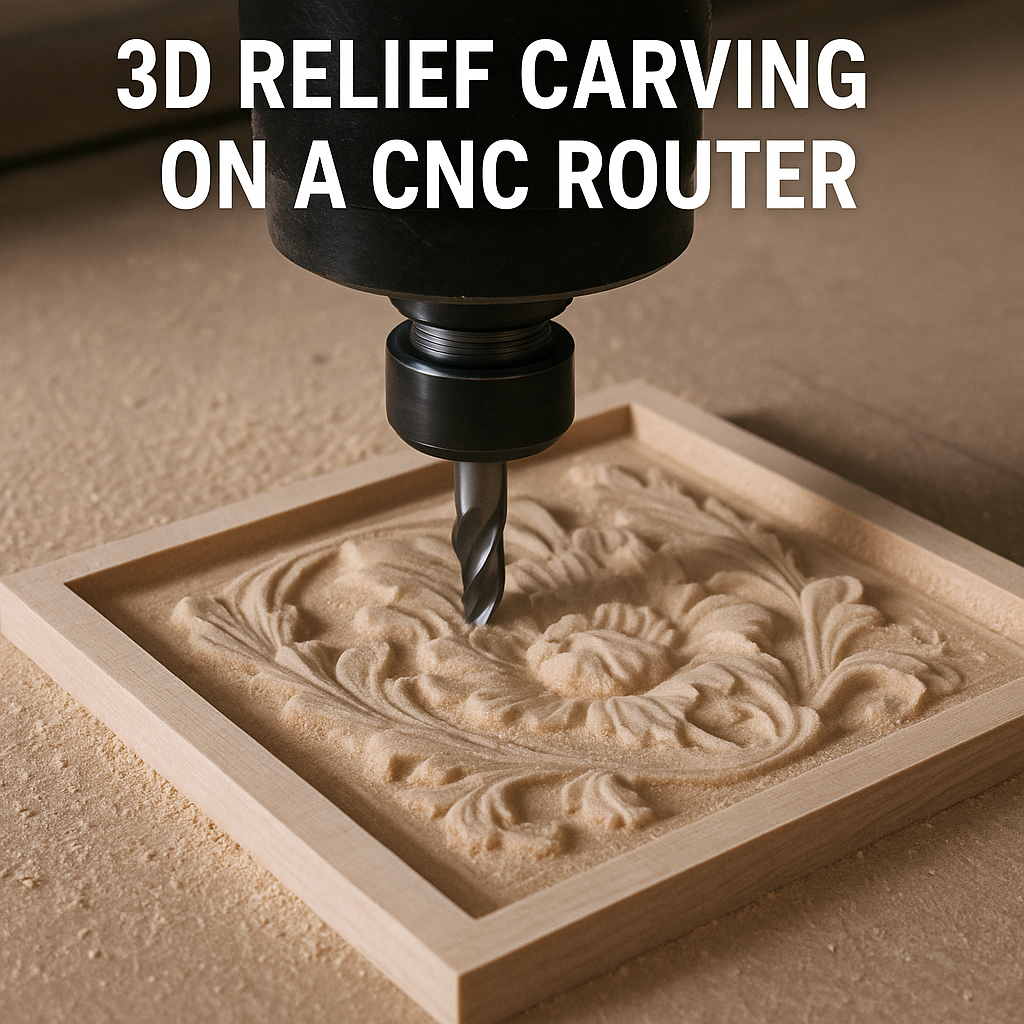
Rzeźbienie reliefowe 3D to technika, w której maszyna CNC tworzy wypukły lub wklęsły obraz na płaskiej powierzchni. W przeciwieństwie do pełnych obiektów 3D (jak rzeźby), reliefy są osadzone na tylnej płycie, podobnie jak dzieła rzeźbione na ścianach starych katedr czy na awersach monet.
Reliefy CNC dodają teksturę, głębię i wizualne zainteresowanie projektowi. Od scen przyrodniczych i portretów po panele dekoracyjne i mapy topograficzne, projekty rzeźbienia 3D CNC otwierają artystyczne możliwości, których nie da się osiągnąć przy obróbce 2D.
Najlepsze materiały do rzeźbienia 3D
Nie wszystkie materiały reagują tak samo na rzeźbienie 3D CNC. Ponieważ proces wymaga długiego czasu pracy, precyzyjnych detali i zmiennej głębokości, wybór odpowiedniego materiału może zdecydować o sukcesie projektu.
Najlepsze materiały do reliefów
Drewno twarde (klon, wiśnia, orzech)
- Zalety: Zachowuje ostre detale, pięknie się poleruje, ekskluzywny wygląd
- Wady: Droższe, wolniejsze w obróbce
- Najlepsze do: Paneli artystycznych, portretów, dzieł dziedzicznych
Drewno miękkie (sosna, cedr)
- Zalety: Niedrogie, szybsze w obróbce, szeroko dostępne
- Wady: Może się rozrywać przy drobnych przejściach; mniej trwałe
- Najlepsze do: Prototypów, rustykalnych wzorów
MDF
- Zalety: Bardzo jednorodne, łatwe do rzeźbienia, niskie koszty
- Wady: Wytwarza drobny pył, wymaga uszczelnienia, brak charakteru usłojenia
- Najlepsze do: Malowanych reliefów, testów CNC, modeli treningowych
Pianka HDU (pianka do znaków)
- Zalety: Bardzo szybkie cięcie, brak usłojenia, idealne do dużych reliefów
- Wady: Wymaga malowania, mniej trwałe
- Najlepsze do: Znaków zewnętrznych, dużych paneli dekoracyjnych
Oprogramowanie do generowania modeli 3D
Tworzenie rzeźb 3D wymaga więcej niż tylko generowania kodu G — zaczyna się od stworzenia lub pozyskania odpowiedniego pliku modelu 3D. Nie musisz być rzeźbiarzem, aby zacząć; istnieje kilka dostępnych metod, które pozwolą Ci szybko zacząć rzeźbić.
Popularne formaty plików 3D do reliefów
- STL (stereolitografia): Najczęstszy format do reliefów.
- OBJ: Popularny w modelowaniu 3D; kompatybilny z wieloma narzędziami CAM.
- Mapy wysokości (obrazy w skali szarości): Przydatne do map terenu lub topograficznych.
Polecane oprogramowanie do projektowania 3D CNC
Carveco Maker / Maker+
Idealne do pracy z reliefami. Importuj, edytuj i generuj ścieżki narzędzi z plików STL lub map wysokości w skali szarości, z zaawansowanymi narzędziami do bas-reliefów.
Vectric Aspire
Popularne wśród hobbystów. Wbudowane narzędzia do modelowania 3D i tworzenia reliefów; łatwo konwertuje grafikę 2D na cechy 3D.
Fusion 360
Nieidealne do artystycznych reliefów, ale potężne do mechanicznych części 3D. Świetne do projektów hybrydowych łączących sztukę z funkcjonalnymi elementami.
Blender + oprogramowanie STL-to-CAM
Użyj Blendera do modelowania, a następnie eksportuj do narzędzia CAM, takiego jak MeshCAM lub Kiri:Moto, do generowania ścieżek narzędzi. Krzywa uczenia jest stroma, ale narzędzie jest potężne i darmowe.
Gdzie znaleźć gotowe modele reliefów 3D
- Design & Make: Duży katalog dekoracyjnych plików STL dla Aspire/Carveco.
- Thingiverse / Printables: Darmowe modele 3D; wiele można dostosować do reliefów.
- TurboSquid / CGTrader: Gotowe zasoby 3D (niektóre darmowe, inne płatne).
Strategie ścieżek narzędzi dla czystych efektów
Gdy model jest gotowy, wygenerowanie odpowiednich ścieżek narzędzi jest kluczowe dla czystego i precyzyjnego rzeźbienia 3D.
Przejazd zgrubny a przejazd wykańczający
Przejazd zgrubny: Szybko usuwa materiał za pomocą większego frezu (np. 1/4" płaskiego lub kulistego). Zostaw niewielki zapas materiału na przejazd wykańczający.
Przejazd wykańczający: Używa mniejszego frezu (np. 1/8" lub 1/16" kulistego), aby podążać za szczegółowymi konturami powierzchni z wolniejszym posuwem i małym skokiem bocznym.
Kluczowe wskazówki dla czystego rzeźbienia
- Używaj frezów kulistych: Okrągły czubek zapewnia gładkie krzywizny i szczegółowe kontury.
- Dopasuj skok boczny: Do prac detali celuj w 8–12% średnicy frezu.
- Zwiększ rozdzielczość osi Z: Mniejsze pionowe kroki pozwalają uchwycić więcej detali pionowych.
- Dopasuj prędkości i posuwy: Ustawienia dostosuj do rozmiaru frezu i twardości materiału.
Czyszczenie ścieżek narzędzi
Użyj „obróbki uzupełniającej” z bardzo drobnym frezem, aby uchwycić małe detale pominięte przez narzędzie wykańczające. Rozważ wykończenie na poziomie Z, jeśli model zawiera pionowe ściany lub płaskie półki.
Wykończenie i montaż twojej pracy
Szlifowanie i czyszczenie
Usuń włókna lub zmechacenia pozostawione przez frezy kuliste za pomocą miękkich pędzli do detali, gąbek ściernych lub narzędzia obrotowego do trudno dostępnych miejsc. Unikaj zbyt agresywnego szlifowania, które może spłaszczyć delikatne detale.
Opcje wykończenia
- Warstwa bezbarwna: Podkreśl naturalne usłojenie i głębię za pomocą szelaku lub poliakrylu.
- Bejca + lakier bezbarwny: Dodaje kontrastu i nastroju; delikatnie szlifuj między warstwami.
- Malowane akcenty: Użyj farby akrylowej, aby wyróżnić kluczowe elementy.
- Podkreślenie i szkliwienie: Nałóż ciemną glazurę i przetrzyj, aby podkreślić głębię.
Pomysły na montaż i ekspozycję
- Montaż na ścianie: Dodaj zawieszki zębate lub francuskie listwy montażowe.
- Oprawa: Ramy typu floating lub shadowbox nadają elegancki wygląd.
- Podświetlenie: Rozważ diody LED za przezroczystą żywicą lub cienkim akrylem dla efektów dramatycznych.
Ostateczne przemyślenia
Rzeźbienie 3D to nie tylko popisy — to rozszerzenie możliwości twojej frezarki CNC. Niezależnie od tego, czy tworzysz dekoracyjną tablicę z motywem zwierzęcym, spersonalizowany portret czy unikalny szyld firmowy, projekty reliefów pozwalają tworzyć trójwymiarową, fakturowaną sztukę, która opowiada historię.
Chociaż cały proces może na początku wydawać się zniechęcający — modelowanie 3D, planowanie ścieżek narzędzi i precyzyjne wykończenie — po wykonaniu pierwszego udanego reliefu będziesz uzależniony. To umiejętność łącząca wizję artystyczną z techniczną precyzją, która przynosi oszałamiające efekty.